고정 헤더 영역
상세 컨텐츠
본문
이번에는 크롤링을 이용하여 멜론 차트에 있는 가수들의 데이터를 수집해보려고한다.
( 기본 설명은 아래 링크 참고 ! )
[Crawling] 파이썬으로 무신사 브랜드 데이터 수집하기
크롤링이란 웹 페이지를 그대로 가져온 후 데이터를 추출해내는 행위이다. 크롤링을 하는 소프트웨어는 크롤러라고 부른다. 1. 크롤링의 원리 웹 페이지는 HTML 문서로 작성되어있다. 그리고 이
gyu-ree.tistory.com
이전에 사용한 라이브러리로는 멜론 차트를 크롤링 하기 어렵다. 멜론의 경우 다른 페이지로 접속해도 url이 변하지 않아 규칙성을 파악할 수 없어서 request 모듈만으로 원하는 데이터를 가져오기 어럽다. 직접 마우스로 클릭하여 접속해야하는데, 크롤링을 위해서는 이를 자동화해주는 기능이 필요하다.
이를 도와주는 모듈들을 알아보자!
1. Selenium & Webdriver
멜론 차트를 크롤링하기 위해서는 selenium 모듈을 사용해야한다. selenium은 웹 브라우저를 이용하는 자동화 프로그램이다.
사람이 일반적으로 웹 브라우저를 이용하여 할 수 있는 행동들을 코드로 작성하면 selemium이 이 코드를 웹 브라우저에 전달하여 실행한다.
- 설치
$ pip install seleniumselenium으로 웹 브라우저를 컨트롤하기 위해서는 webdriver를 설치해야한다. (webdriver의 API를 통해 브라우저를 제어하기 때문에 코드로 작성된 행동을 웹드라이버를 통해 조작한다. ) 난 크롬창을 이용하기 때문에 chromedriver를 사용했다.
https://sites.google.com/a/chromium.org/chromedriver/downloads
크롬 드라이버는 위 링크에서 설치할 수 있는데, zip 파일을 다운받고 풀어주면 chrome driver라는 파일이 저장된다.

경로는 무관하며, 코드에서 selenium 객체를 생성할 때 지정해줘야한다. (난 코드와 동일한 경로에 옮겨뒀다.)
적용하기
import selenium
from selenium import webdriver as wd
2. 코드 작성하기
위 링크에 접속해서 2008년부터 2023년까지 월별 탑 100순위에 있는 모든 가수들의 데이터를 수집해보자.
적용하기
import selenium
from selenium import webdriver as wd
import time
from urllib.request import urlopen, Request
import pandas as pd
from bs4 import BeautifulSoup
import requests
from itertools import repeat
import ssl
import openpyxl
import urllib.request
wb = openpyxl.Workbook()
sheet = wb.active

period = 1
year=1
month = 1
index=0
index_backup=1
celeb_category_id=10
artist_name=''
member_artist_name=''
name=''
idList=[]
필요한 모듈들과 변수들을 정의하고 있다. period는 연대 선택, year은 연도 선택, month는 월간 선택에서 사용할 변수이다.
index와 index_backup은 pk, fk로 사용할 값들이고 idList는 중복 데이터를 저장하지 않기 위한 용도로 사용할 예정이다!
while period < 3 and year<3:
try:
if period ==1 and year==1 and month==4:
year=2
month=1
if period ==1 and year==5:
period=2
year=1
celeb_category_id=10
context = ssl._create_unverified_context()
driver = wd.Chrome('/Users/kimkyuri/Documents/학교공부/4-1/sluv/crawling/celeb/chromedriver_mac_arm64/chromedriver')
driver.maximize_window()
# 드라이버가 해당 url 접속
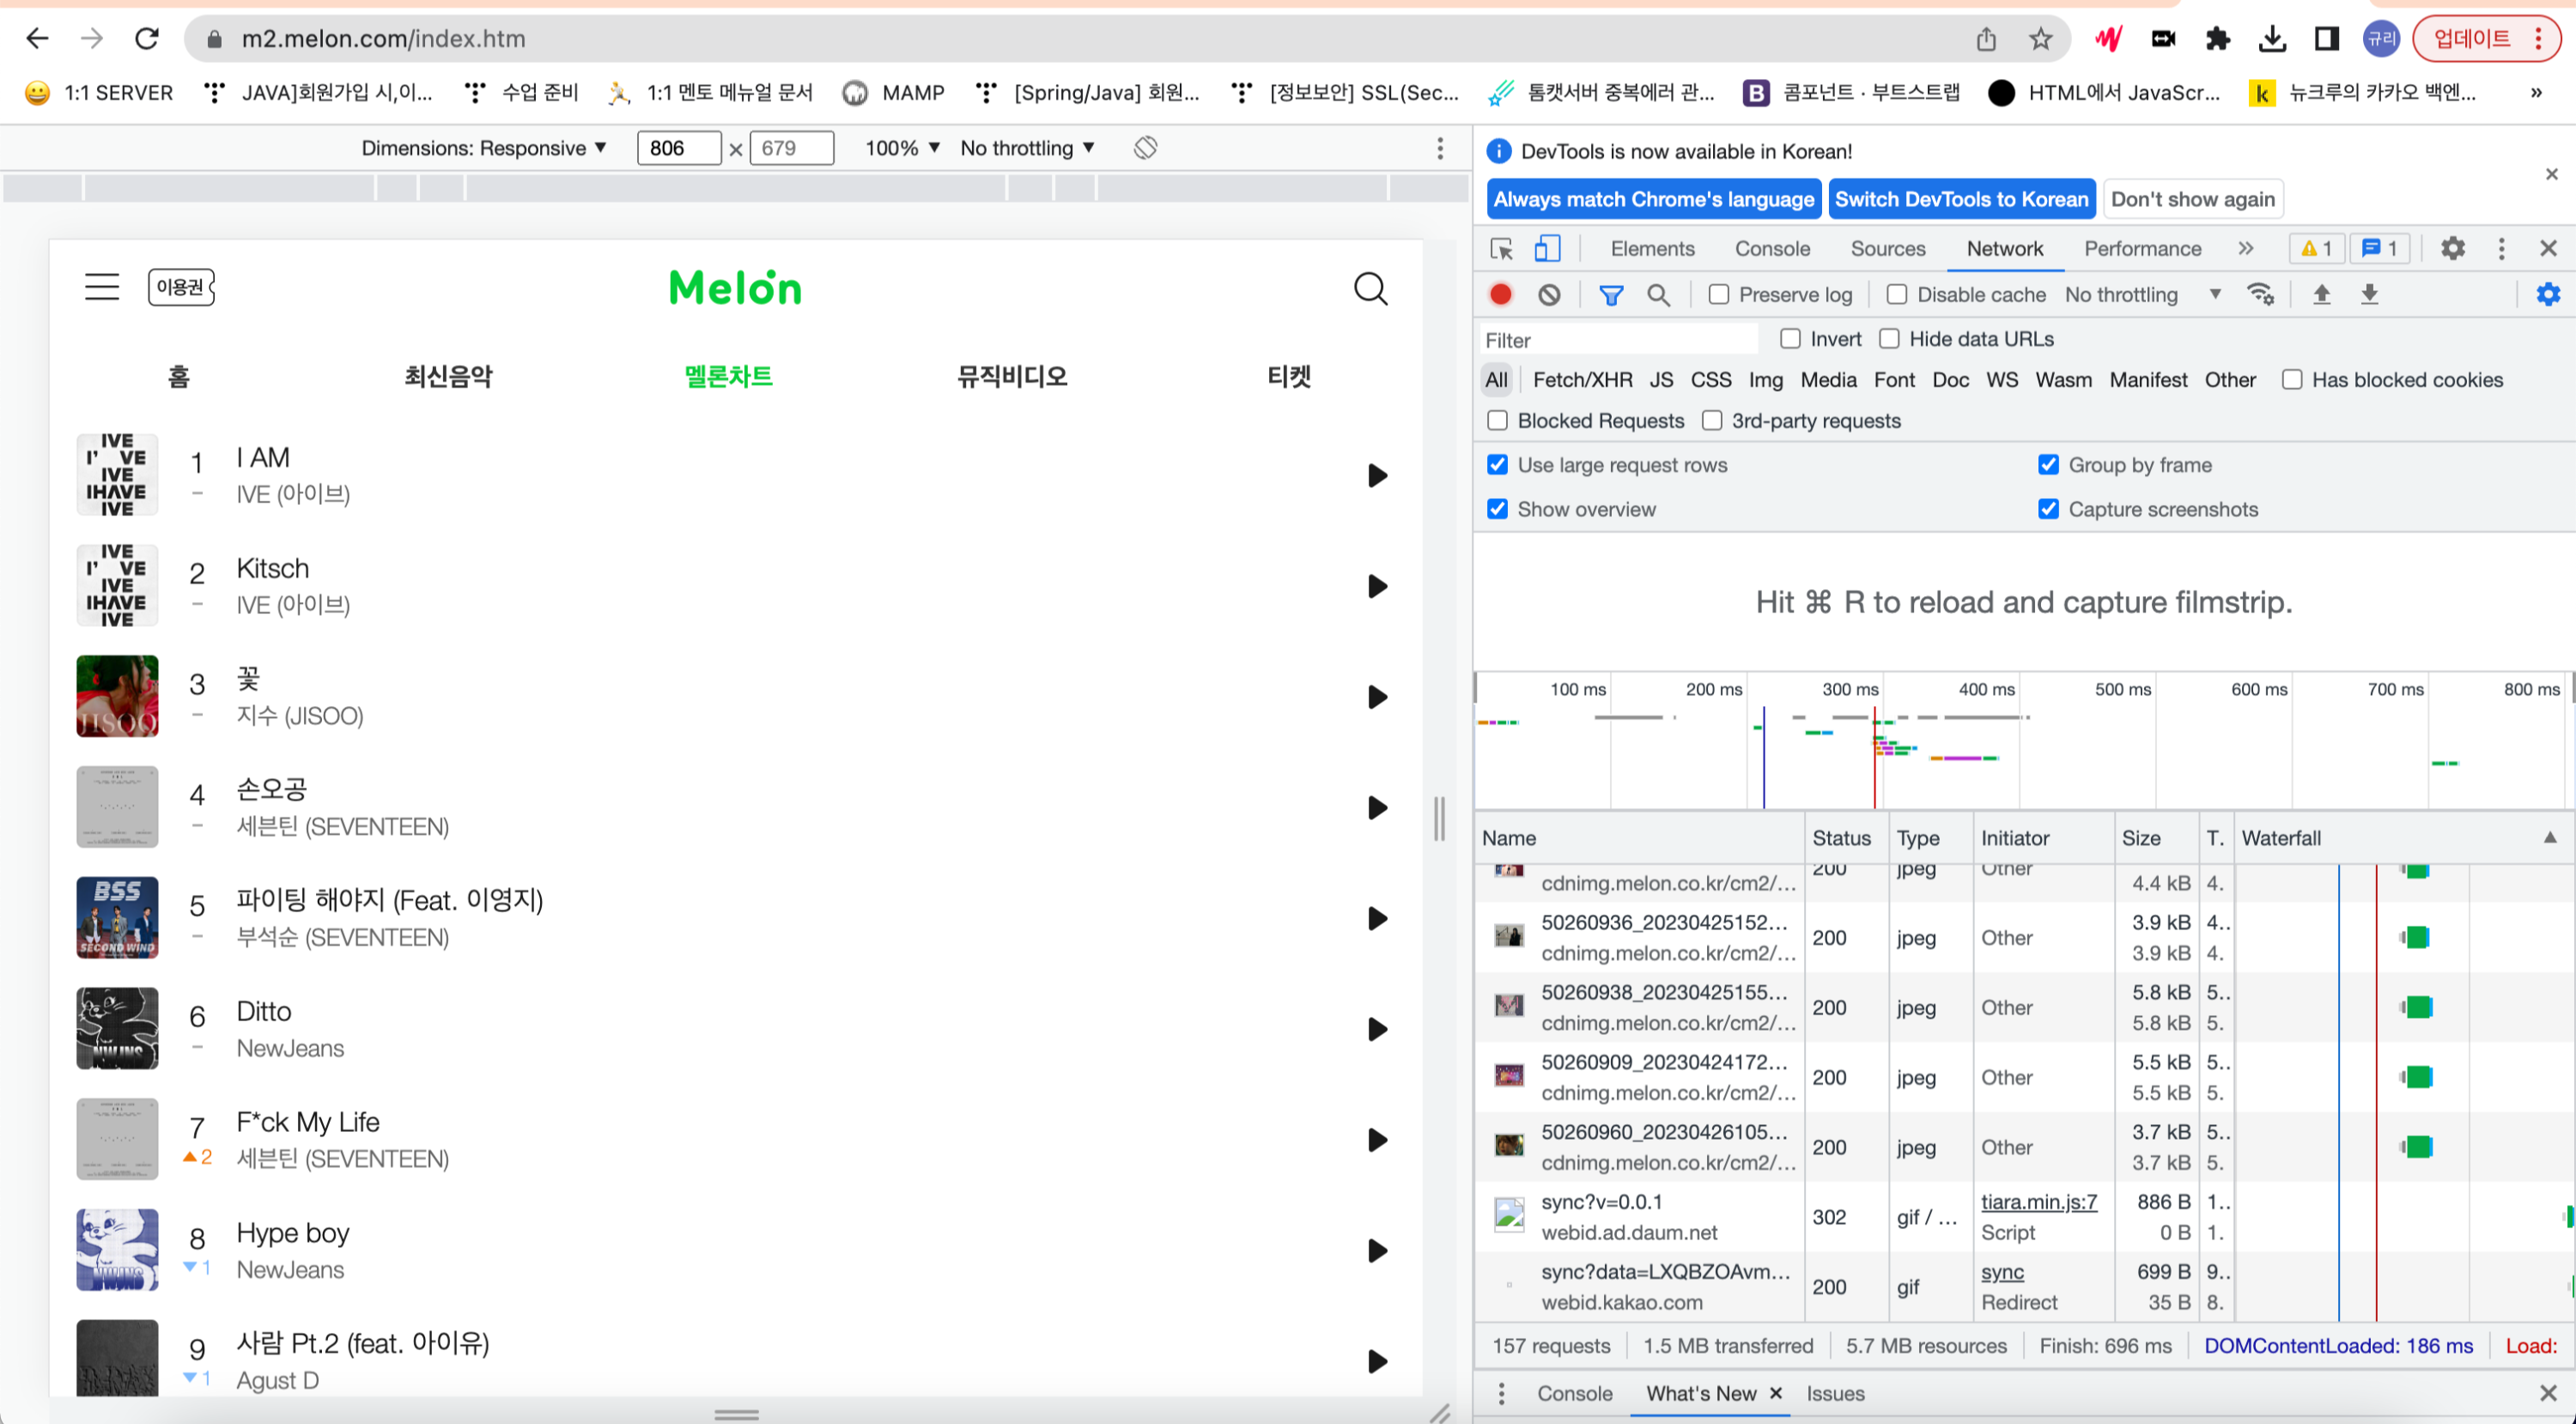
url = 'https://www.melon.com/chart/index.htm'
driver.get(url)
time.sleep(0.5)
wd.Chrome에 이전에 다운로드한 드라이버의 설치 경로를 주어 정의하고, driver.maximize_window()를 통해서 자동으로 크롬 창이 실행되도록 한다.
url을 정의하여 get을 통해 접속하도록 하는데, time.sleep으로 정상 실행 전에 다른 작업이 진행되지 않도록 만들어주자!
실행하면 아래와 같은 크롬창이 자동으로 뜬다!
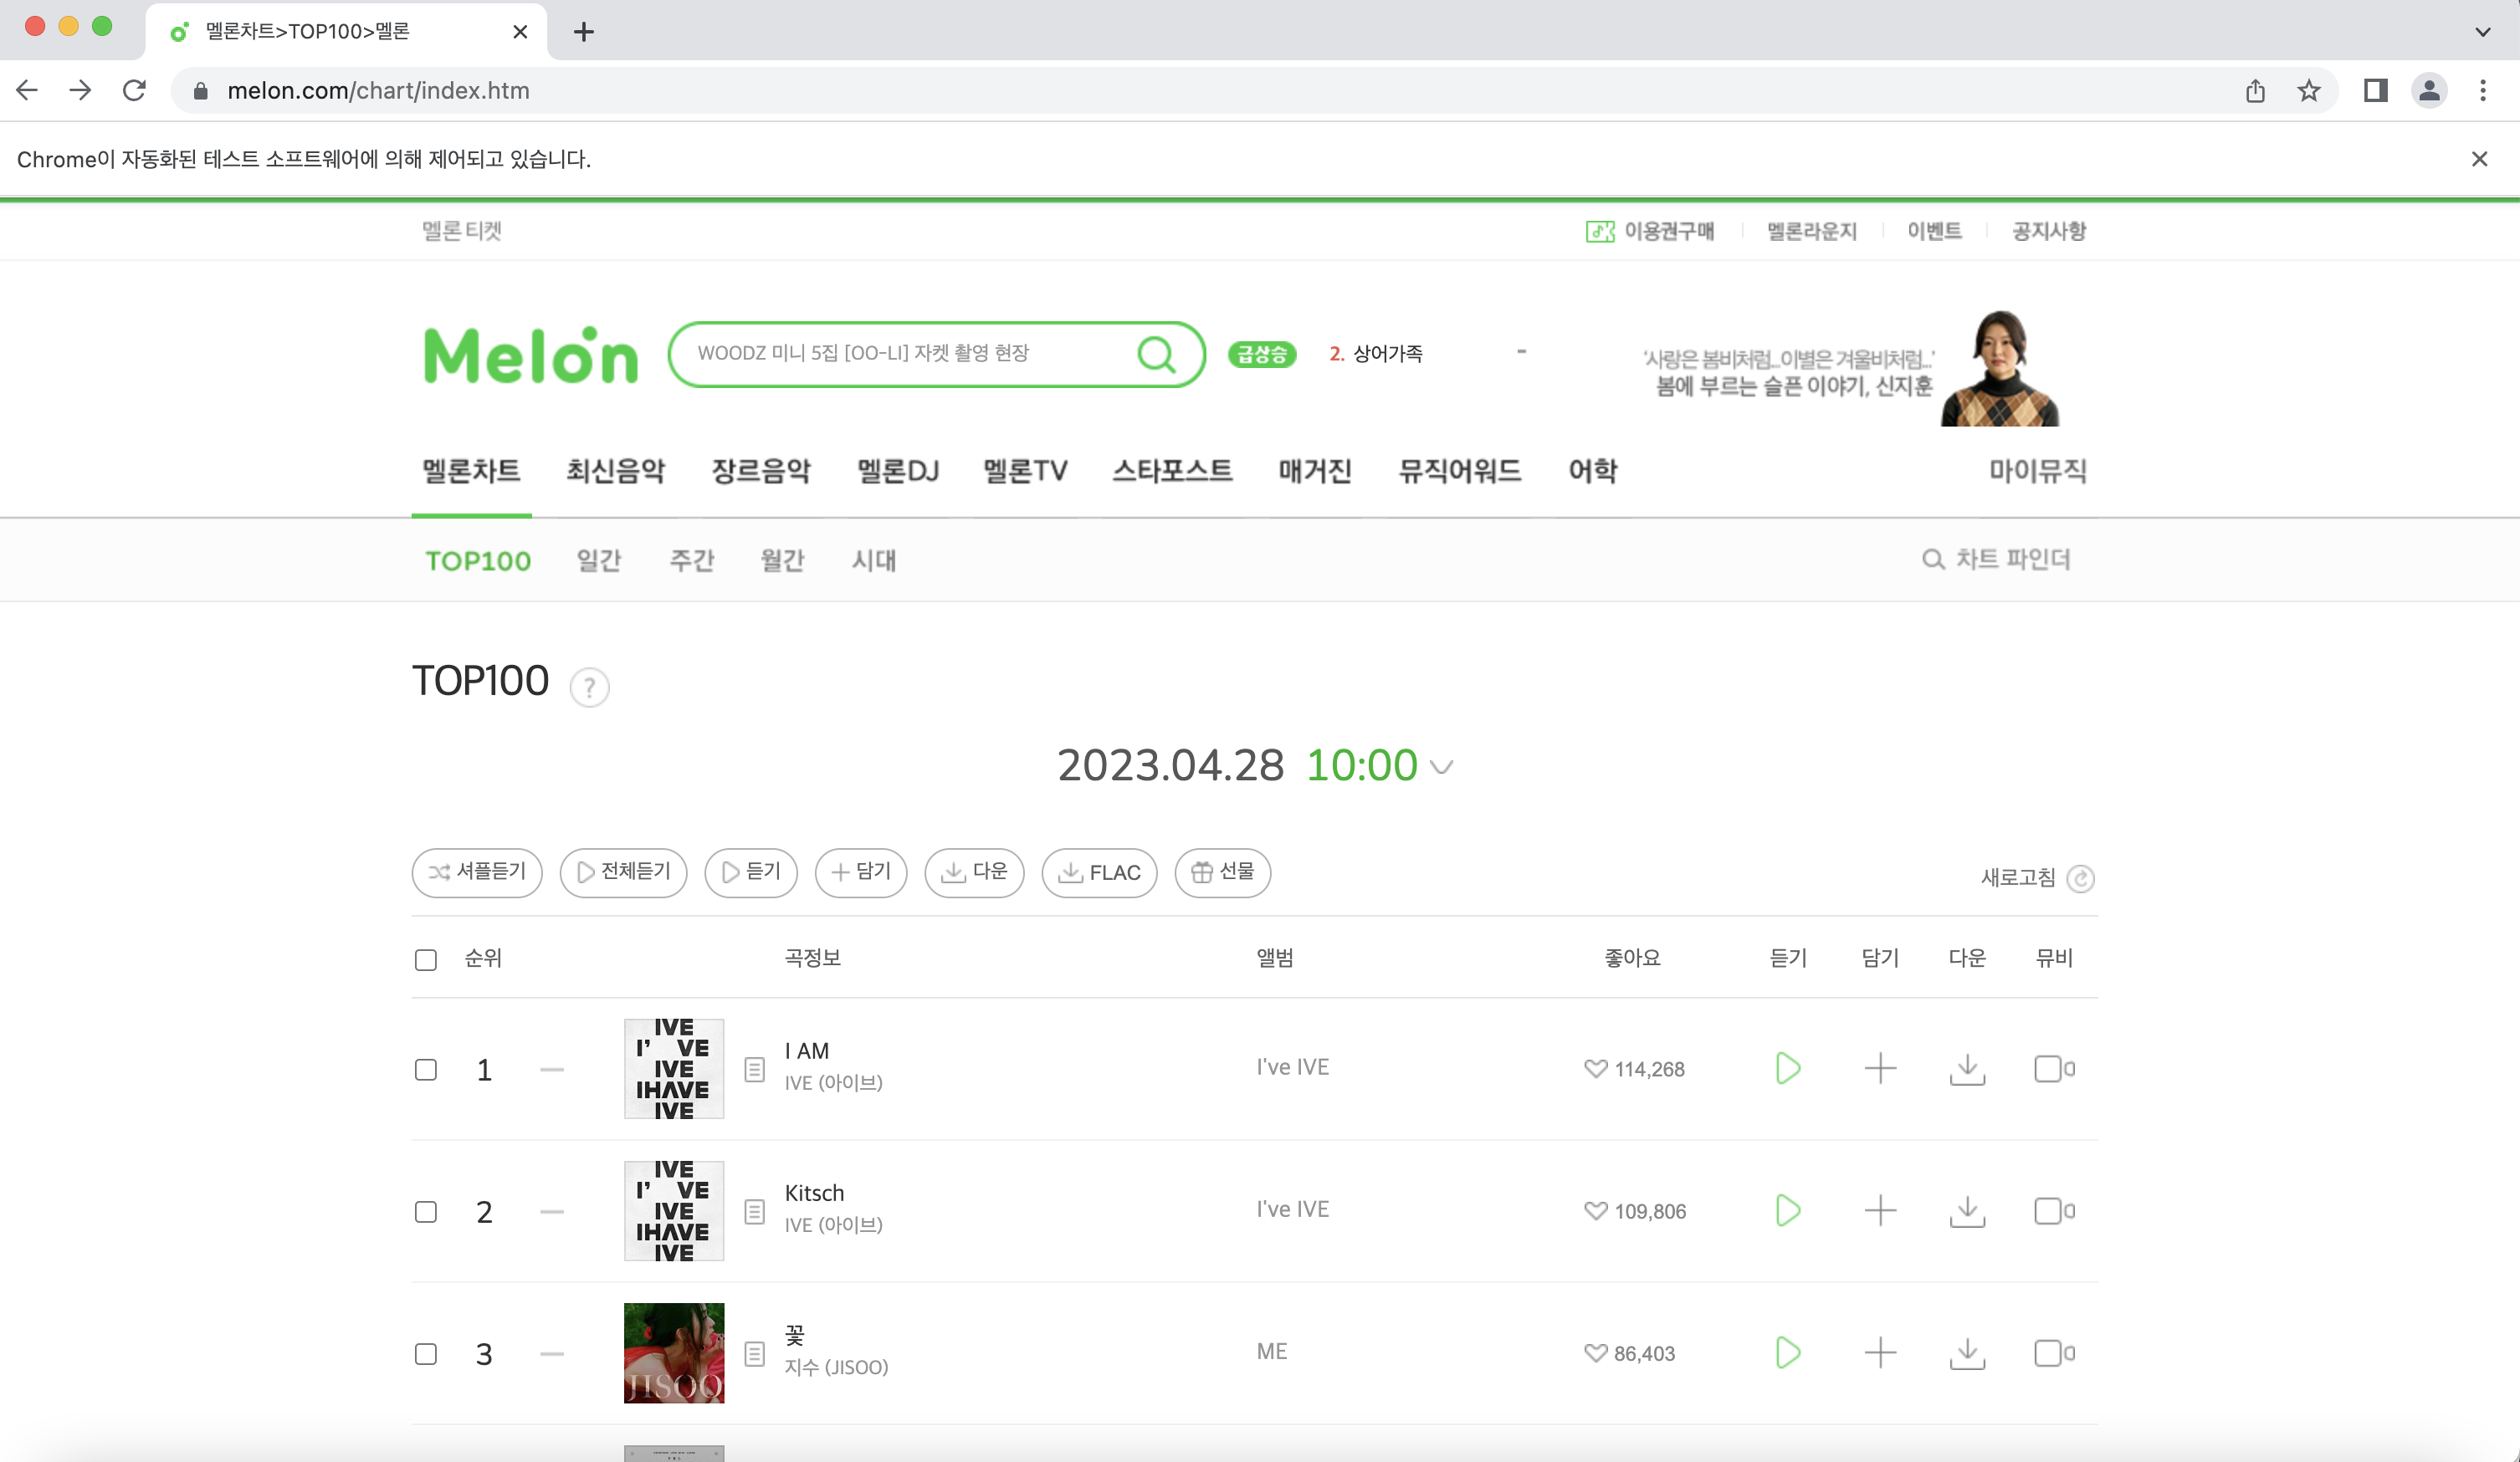
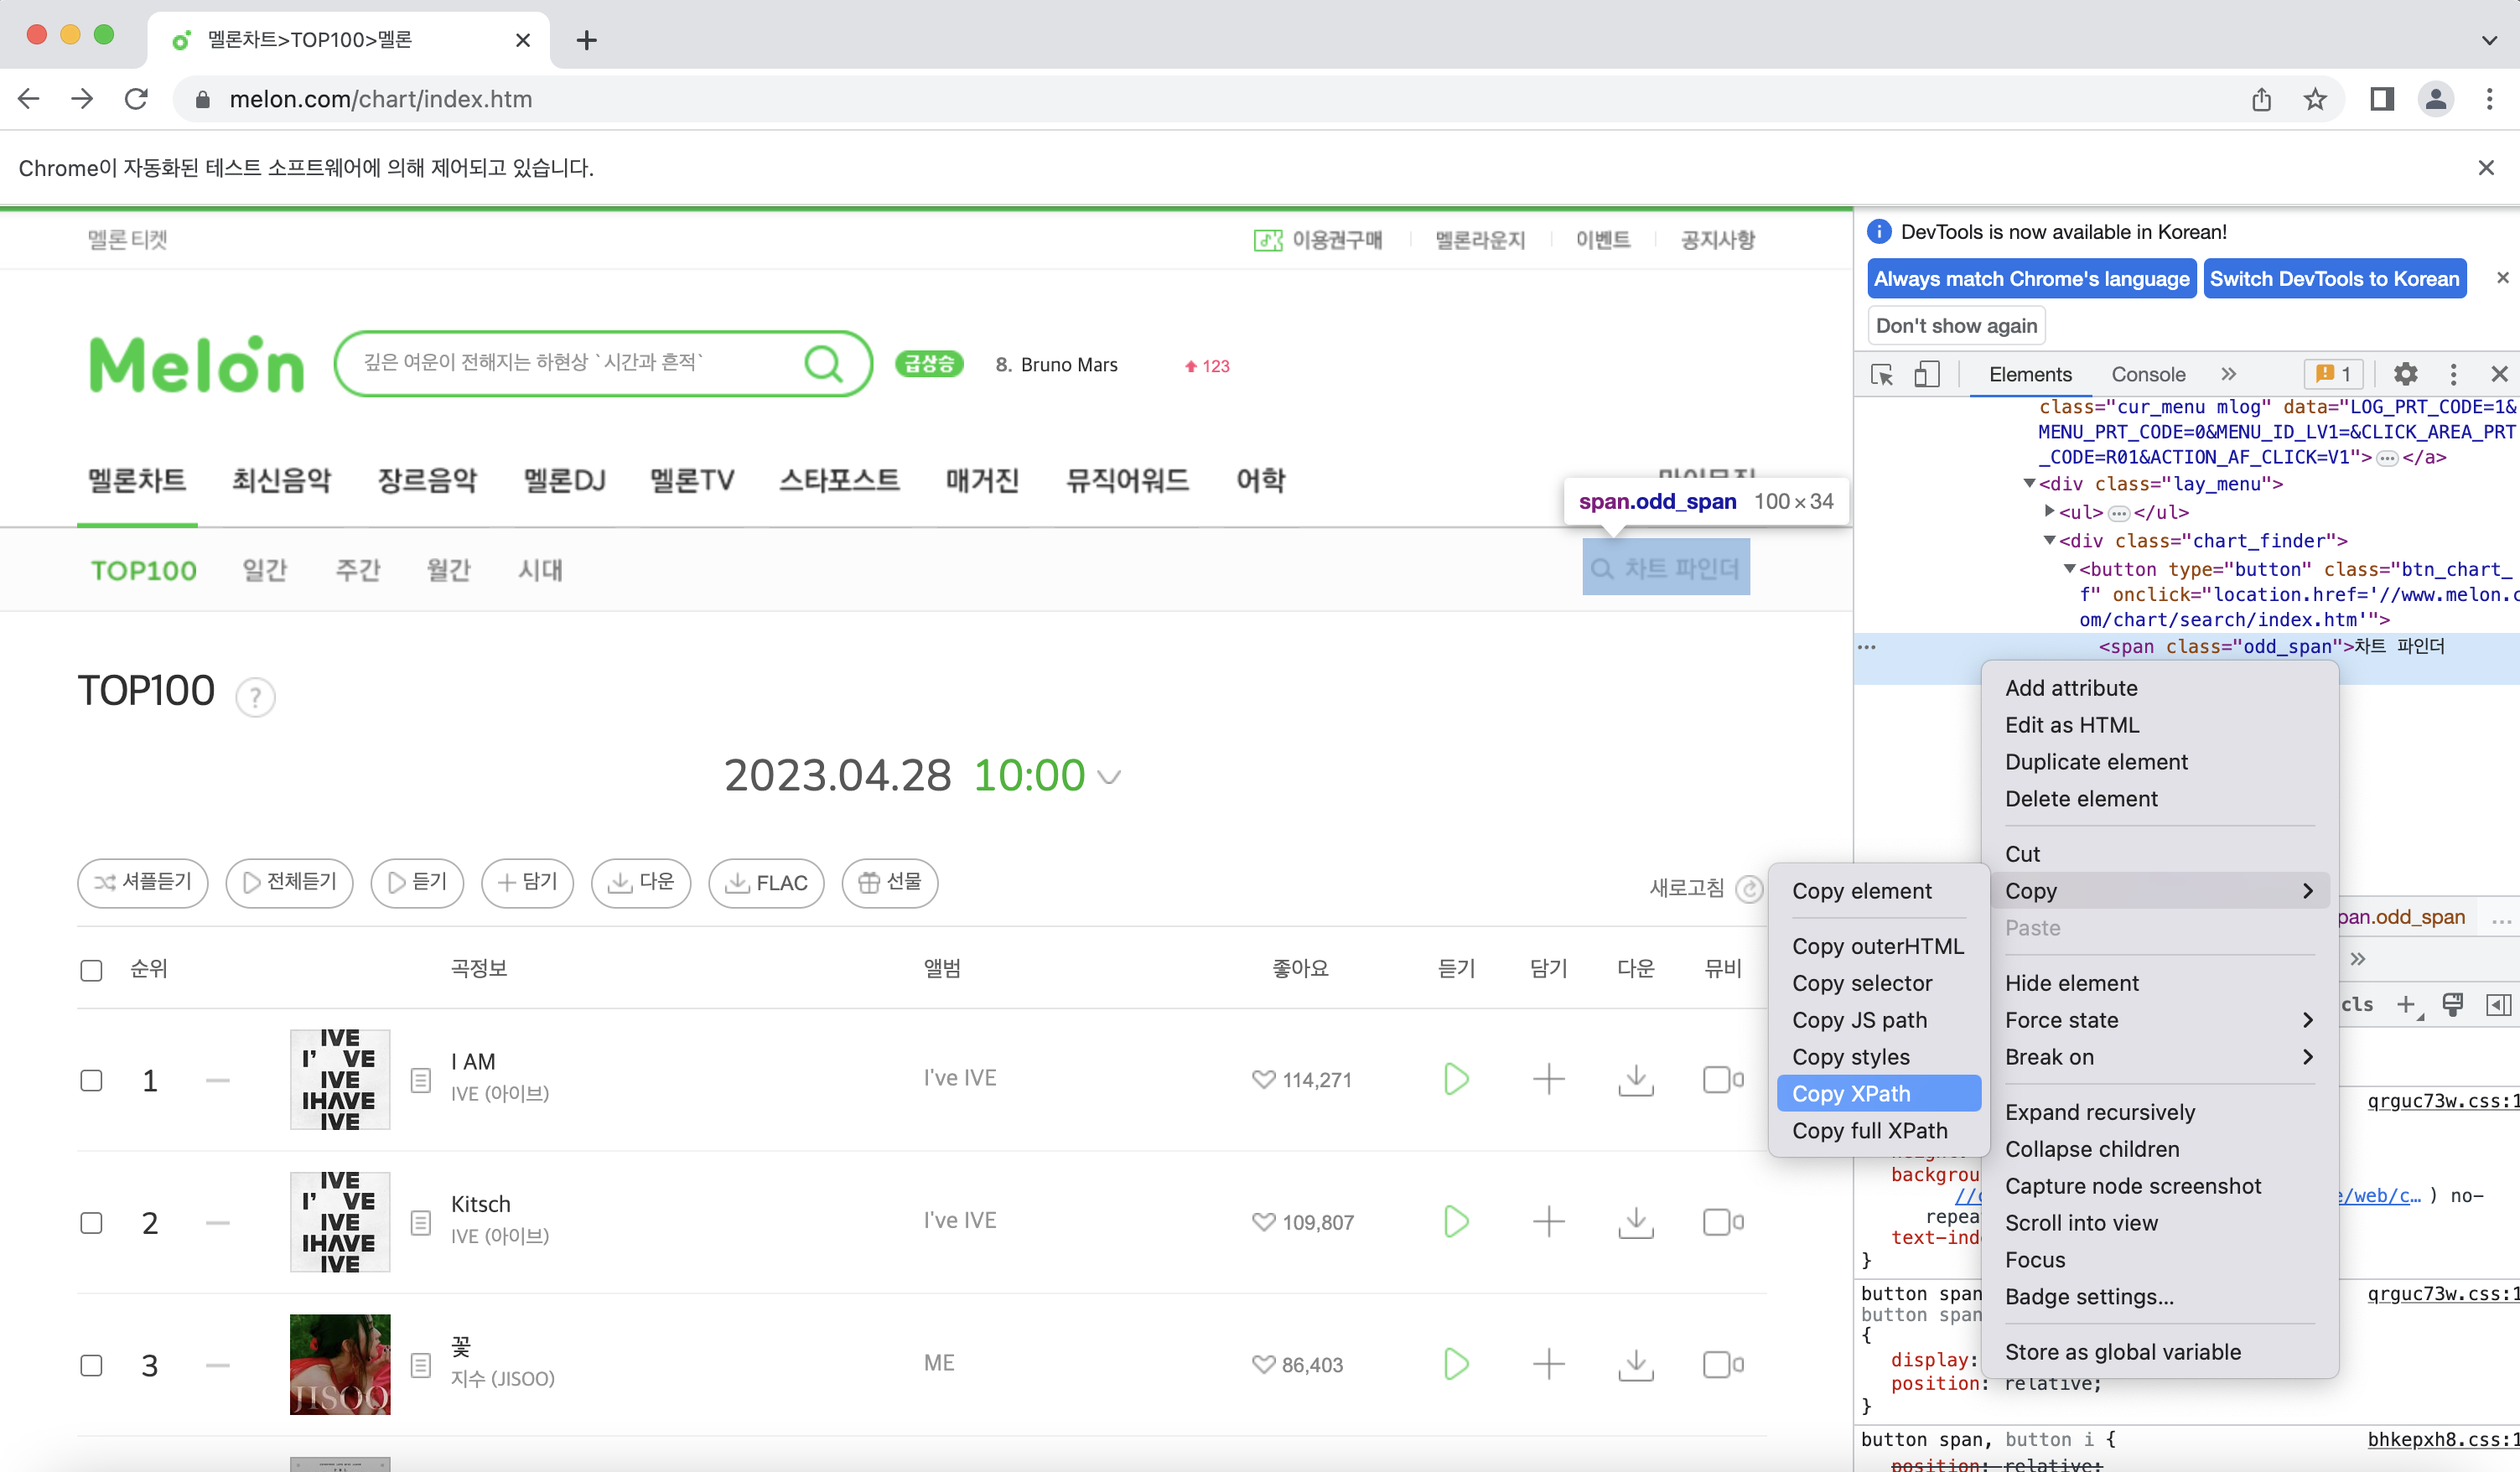
다음으로는 오른쪽 상단에 있는 차트 파인더로 접속을 해보자!
selenium을 통해 사람이 직접 클릭하는 대신 코드를 통해 자동으로 클릭하도록 구현할 수 있다.
 # 차트파인더 클릭
        driver.find_element_by_xpath('//*[@id="gnb_menu"]/ul[1]/li[1]/div/div/button/span').click()
        time.sleep(0.5)
xpath를 지정해주면 그 경로로 마우스가 자동 클릭되는데, xpath는 아래 사진처럼 개발자 도구를 통해서 가져올 수 있다.
여기서도 time.sleep으로 다른 작업과 겹치지 않게 해준다.
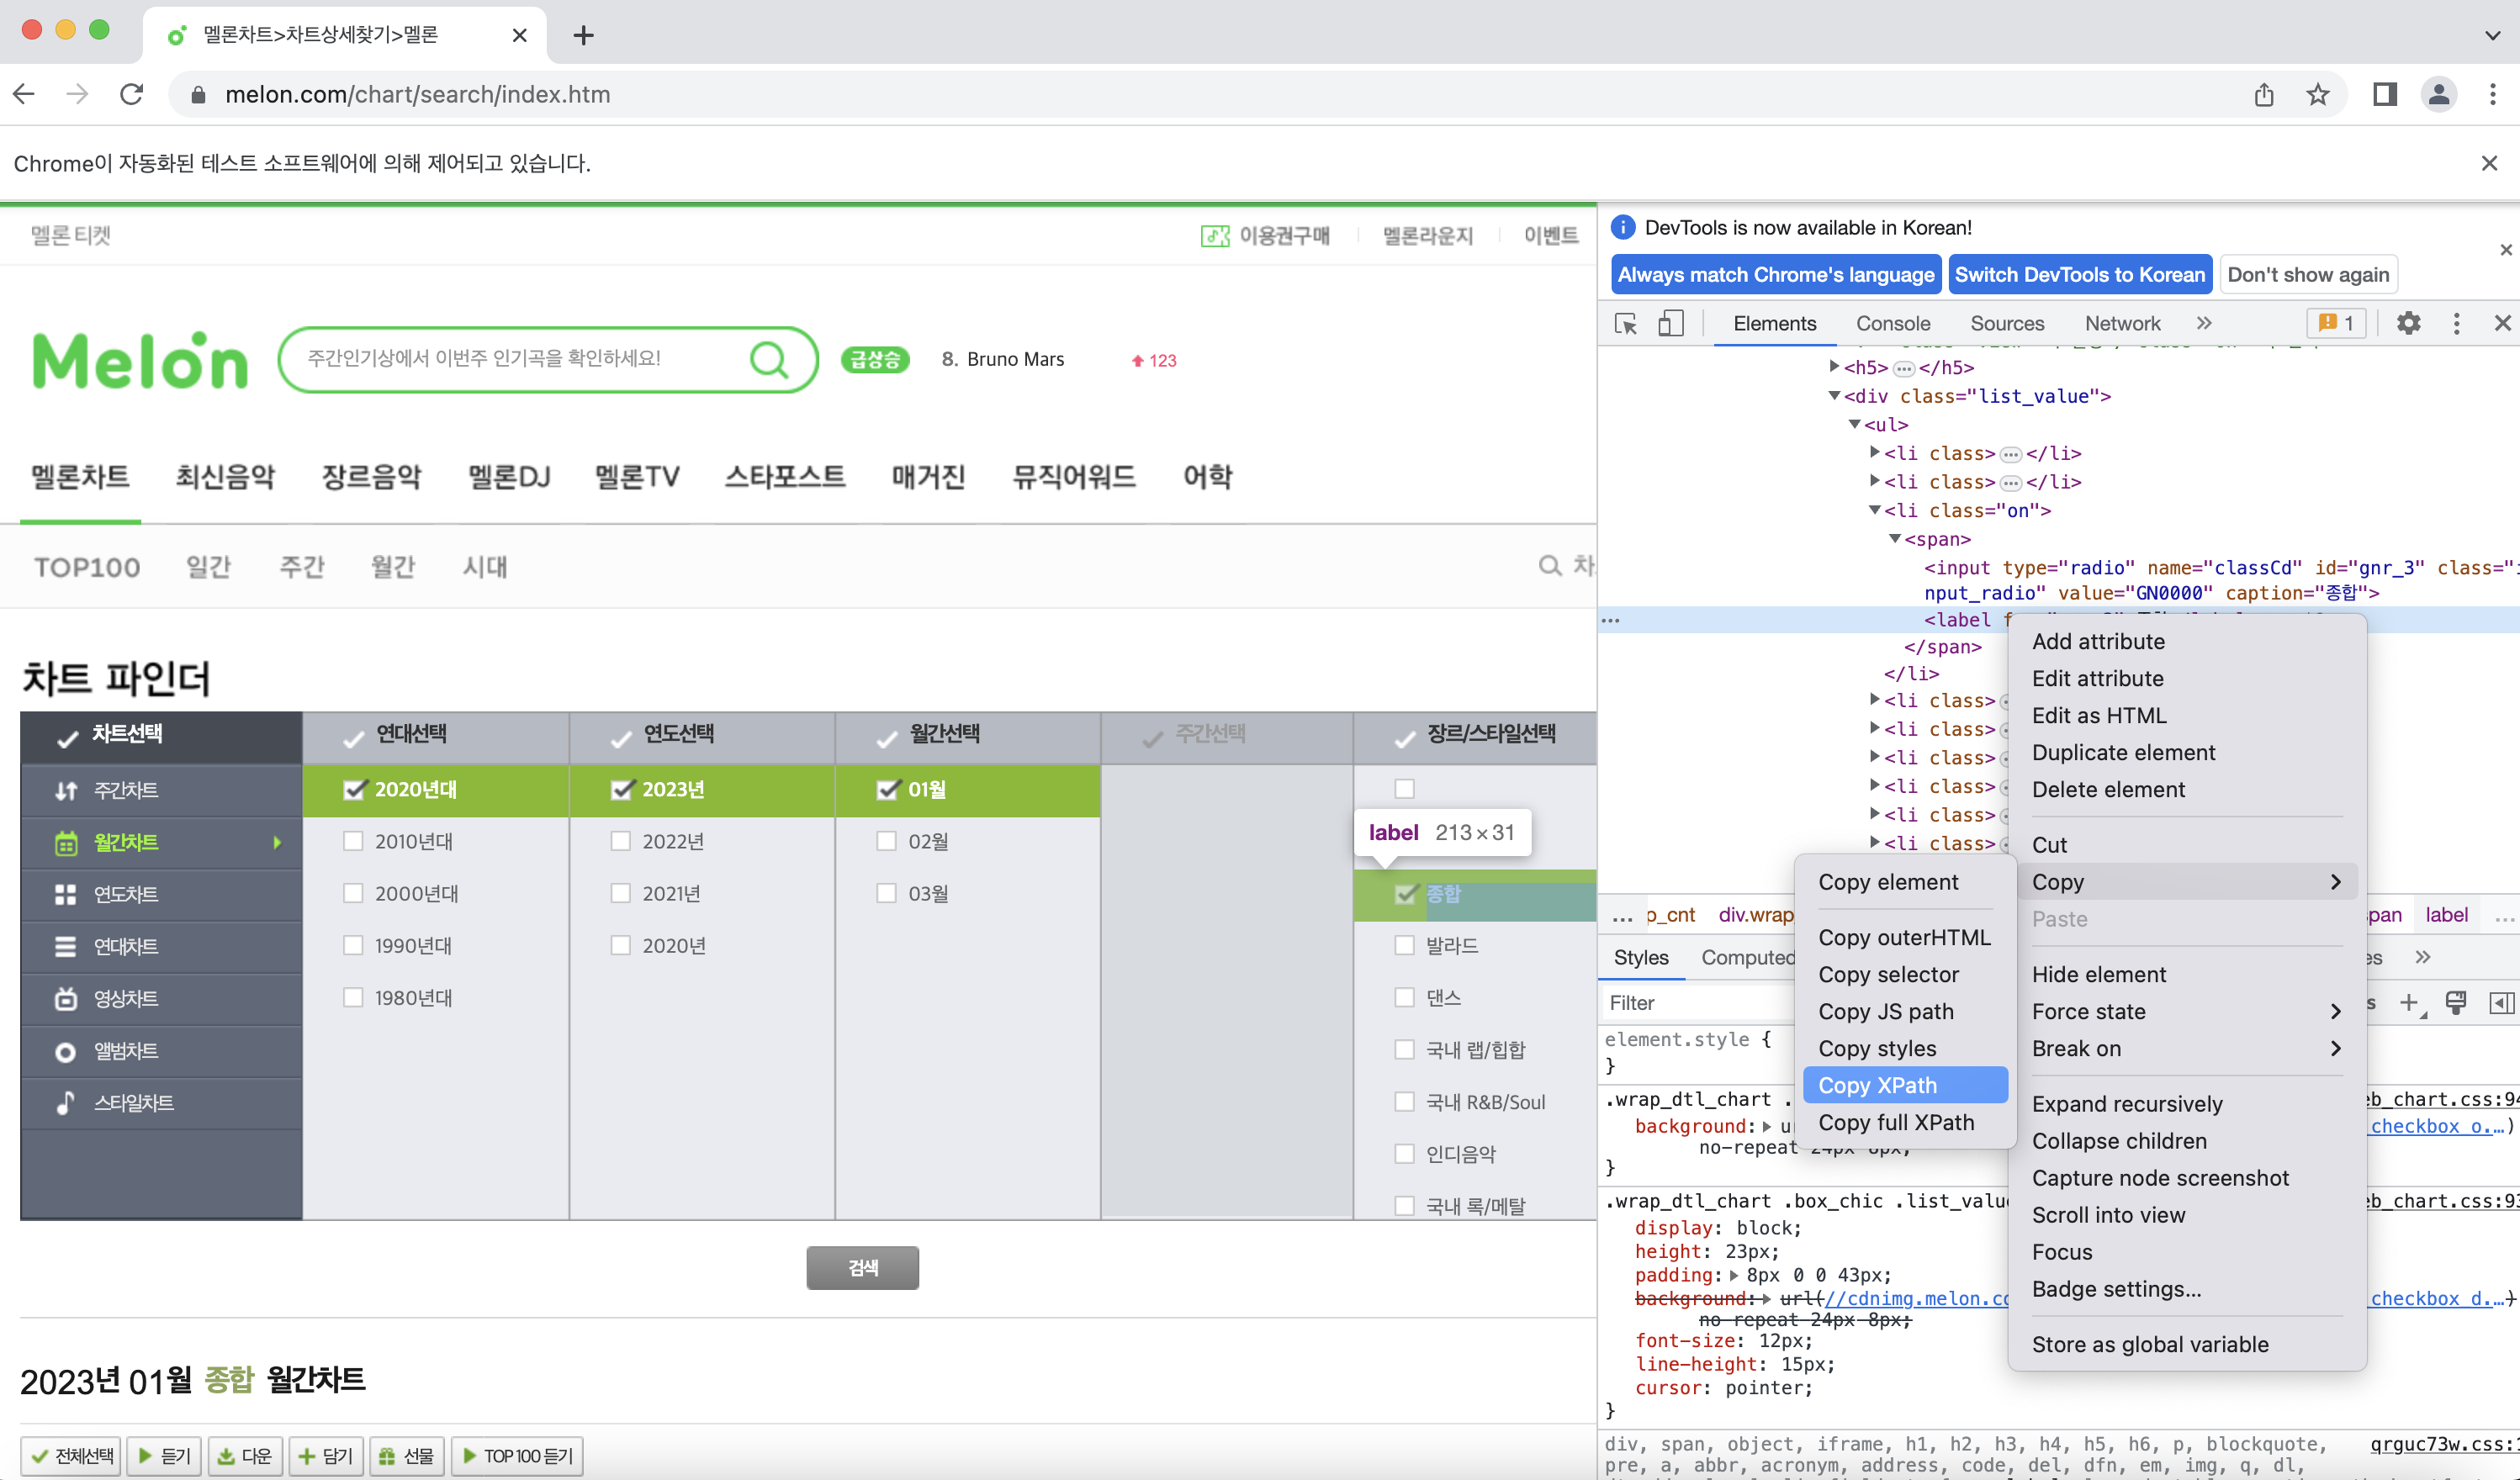
똑같은 방식으로 차트 파인더에서 원하는 경로를 선택하게 만들어주자!
 # 월간차트 클릭
        driver.find_element_by_xpath('//*[@id="d_chart_search"]/div/h4[2]/a').click()
        time.sleep(1)


        # 연대선택 클릭
        driver.find_element_by_xpath('//*[@id="d_chart_search"]/div/div/div[1]/div[1]/ul/li[{}]/span/label'.format(period)).click()
        time.sleep(1)


        # 연도선택 클릭
        #driver.find_element_by_xpath('//*[@id="d_chart_search"]/div/div/div[2]/div[1]/ul/li[1]/span/label').click()
        driver.find_element_by_xpath('//*[@id="d_chart_search"]/div/div/div[2]/div[1]/ul/li[{}]/span/label'.format(year)).click()
        time.sleep(1)


        # 월선택 클릭
        driver.find_element_by_xpath('//*[@id="d_chart_search"]/div/div/div[3]/div[1]/ul/li[{}]/span/label'.format(month)).click()
        time.sleep(1)


        # 장르선택 종합 클릭
        if year==1 and period==1:
            driver.find_element_by_xpath('//*[@id="d_chart_search"]/div/div/div[5]/div[1]/ul/li[3]/span/label').click()
        elif year ==2 and month>5 and period==1:
            driver.find_element_by_xpath('//*[@id="d_chart_search"]/div/div/div[5]/div[1]/ul/li[3]/span/label').click()

        else:
            driver.find_element_by_xpath('//*[@id="d_chart_search"]/div/div/div[5]/div[1]/ul/li[1]/span/label').click()

        time.sleep(1)


        # 검색 버튼 클릭
        driver.find_element_by_xpath('//*[@id="d_srch_form"]/div[2]/button/span/span').click()
        time.sleep(1)
        month+=1
        if month == 13:
            year+=1
            month=1
        if year == 11:
            period+=1
            year=1
이렇게 작성하면 연대, 연도, 월, 장르가 순서대로 선택된다. 종료 조건문과 각각의 변수들이 증가하는 값은 수집을 원하는 데이터에 따라 설정하면된다.
(장르 선택 부분에서 사이트에 오류가 있어서 조건문을 걸어줬다..... )
지금부터는 이전 포스팅에서 보여준 방식과 비슷하게 크롤링을 진행하면 된다.
html = driver.page_source
soup = BeautifulSoup(html, 'html.parser')
upper_category = soup.findAll('span','checkEllipsis')
for i,title in enumerate(upper_category):
data = title.findAll('a','fc_mgray')
for j,data2 in enumerate(data):
artist_id=(data2['href'].split("'")[1].split("'")[0])
if artist_id in idList:
continue
else:
idList.append(artist_id)
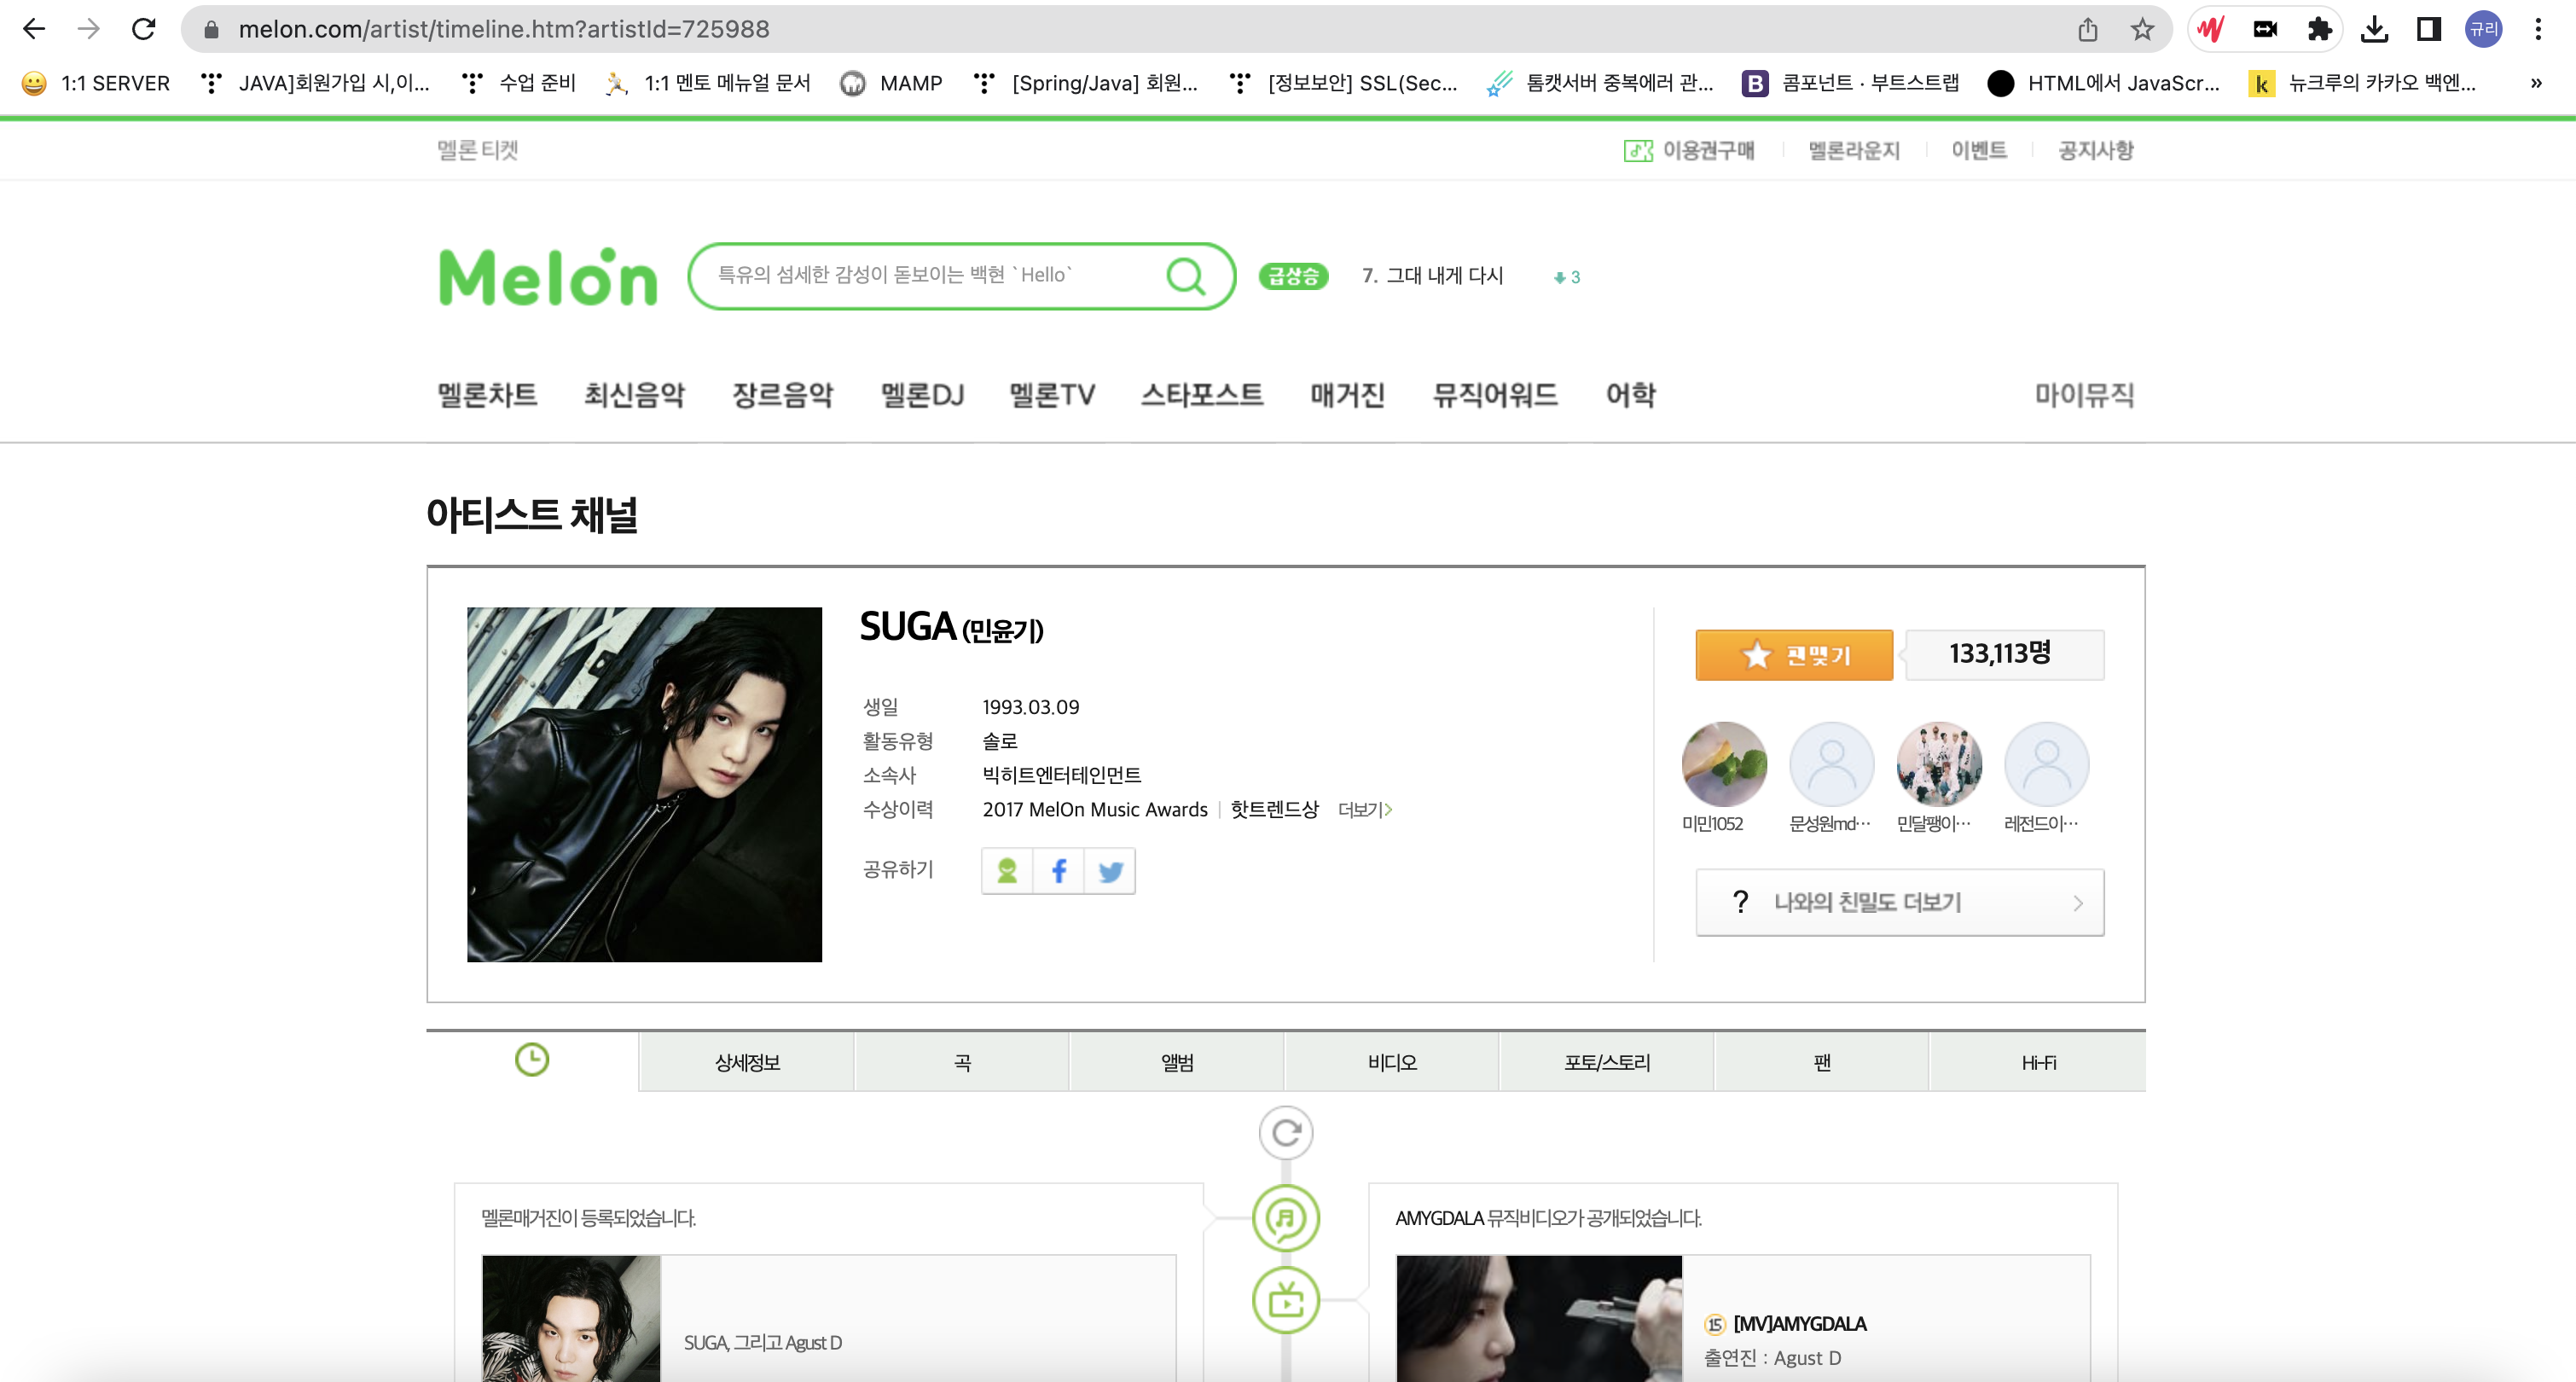
artist_link="https://www.melon.com/artist/timeline.htm?artistId="+artist_id
req2 = Request(artist_link, headers={'User-Agent': 'Mozilla/5.0'})
url = urlopen(req2,context=context).read()
_artist_page = BeautifulSoup(url, 'html.parser')
findAll 함수로 데이터를 가져오고, artist_id를 추출한다. 멜론에서는 가수별로 artist_id 고유값을 가지고 있는데, "https://www.melon.com/artist/timeline.htm?artistId=(아티스트 아이디 값)"이 그 가수의 상세 페이지의 url이 된다.
idList에 이미 해당 artist_id가 있으면 저장하지 않고, 없는 경우에만 추가해준다. 엑셀로 중복 제거를 해줘도 되지만 pk값을 순서대로 넣고 싶어서 이 방식을 선택했다!
                req2 = Request(artist_link, headers={'User-Agent': 'Mozilla/5.0'})
                url = urlopen(req2,context=context).read()
                _artist_page = BeautifulSoup(url, 'html.parser')

                #솔로일 경우 category_id = 10
                celeb_category_id=10

                artist_info = _artist_page.findAll("div", "wrap_atist_info")
                name = _artist_page.findAll("p","title_atist")
                member_name = _artist_page.findAll("p","wrap_atistname")

                artist_detail_link="https://m2.melon.com/artist/detail/info.htm?artistId="+artist_id
                req = Request(artist_detail_link, headers={'User-Agent': 'Mozilla/5.0'})
                url = urlopen(req,context=context).read()
                _artist_detail_page = BeautifulSoup(url, 'html.parser')
                artist_detail_info = _artist_detail_page.findAll("div","item-detail")
여기부터 가수의 상세 페이지로 작업을 해준다!
스럽의 경우 데이터 베이스에 celeb_category_id 값으로 셀럽을 분류해주고있다.

category_id 라는 변수에 기본값으로 10(솔로)로 지정해두고, 그룹일 경우 이 id를 다른 값으로 바꿔주었다.
그룹일 경우 보이그룹인지, 걸그룹인지는 상세정보 탭에서 확인할 수 있고, 상세 정보 탭의 주소는 https://m2.melon.com/artist/detail/info.htm?artistId= "이다. 따라서 다시 urlopen 통해서 열고 html 데이터를 가져온다.
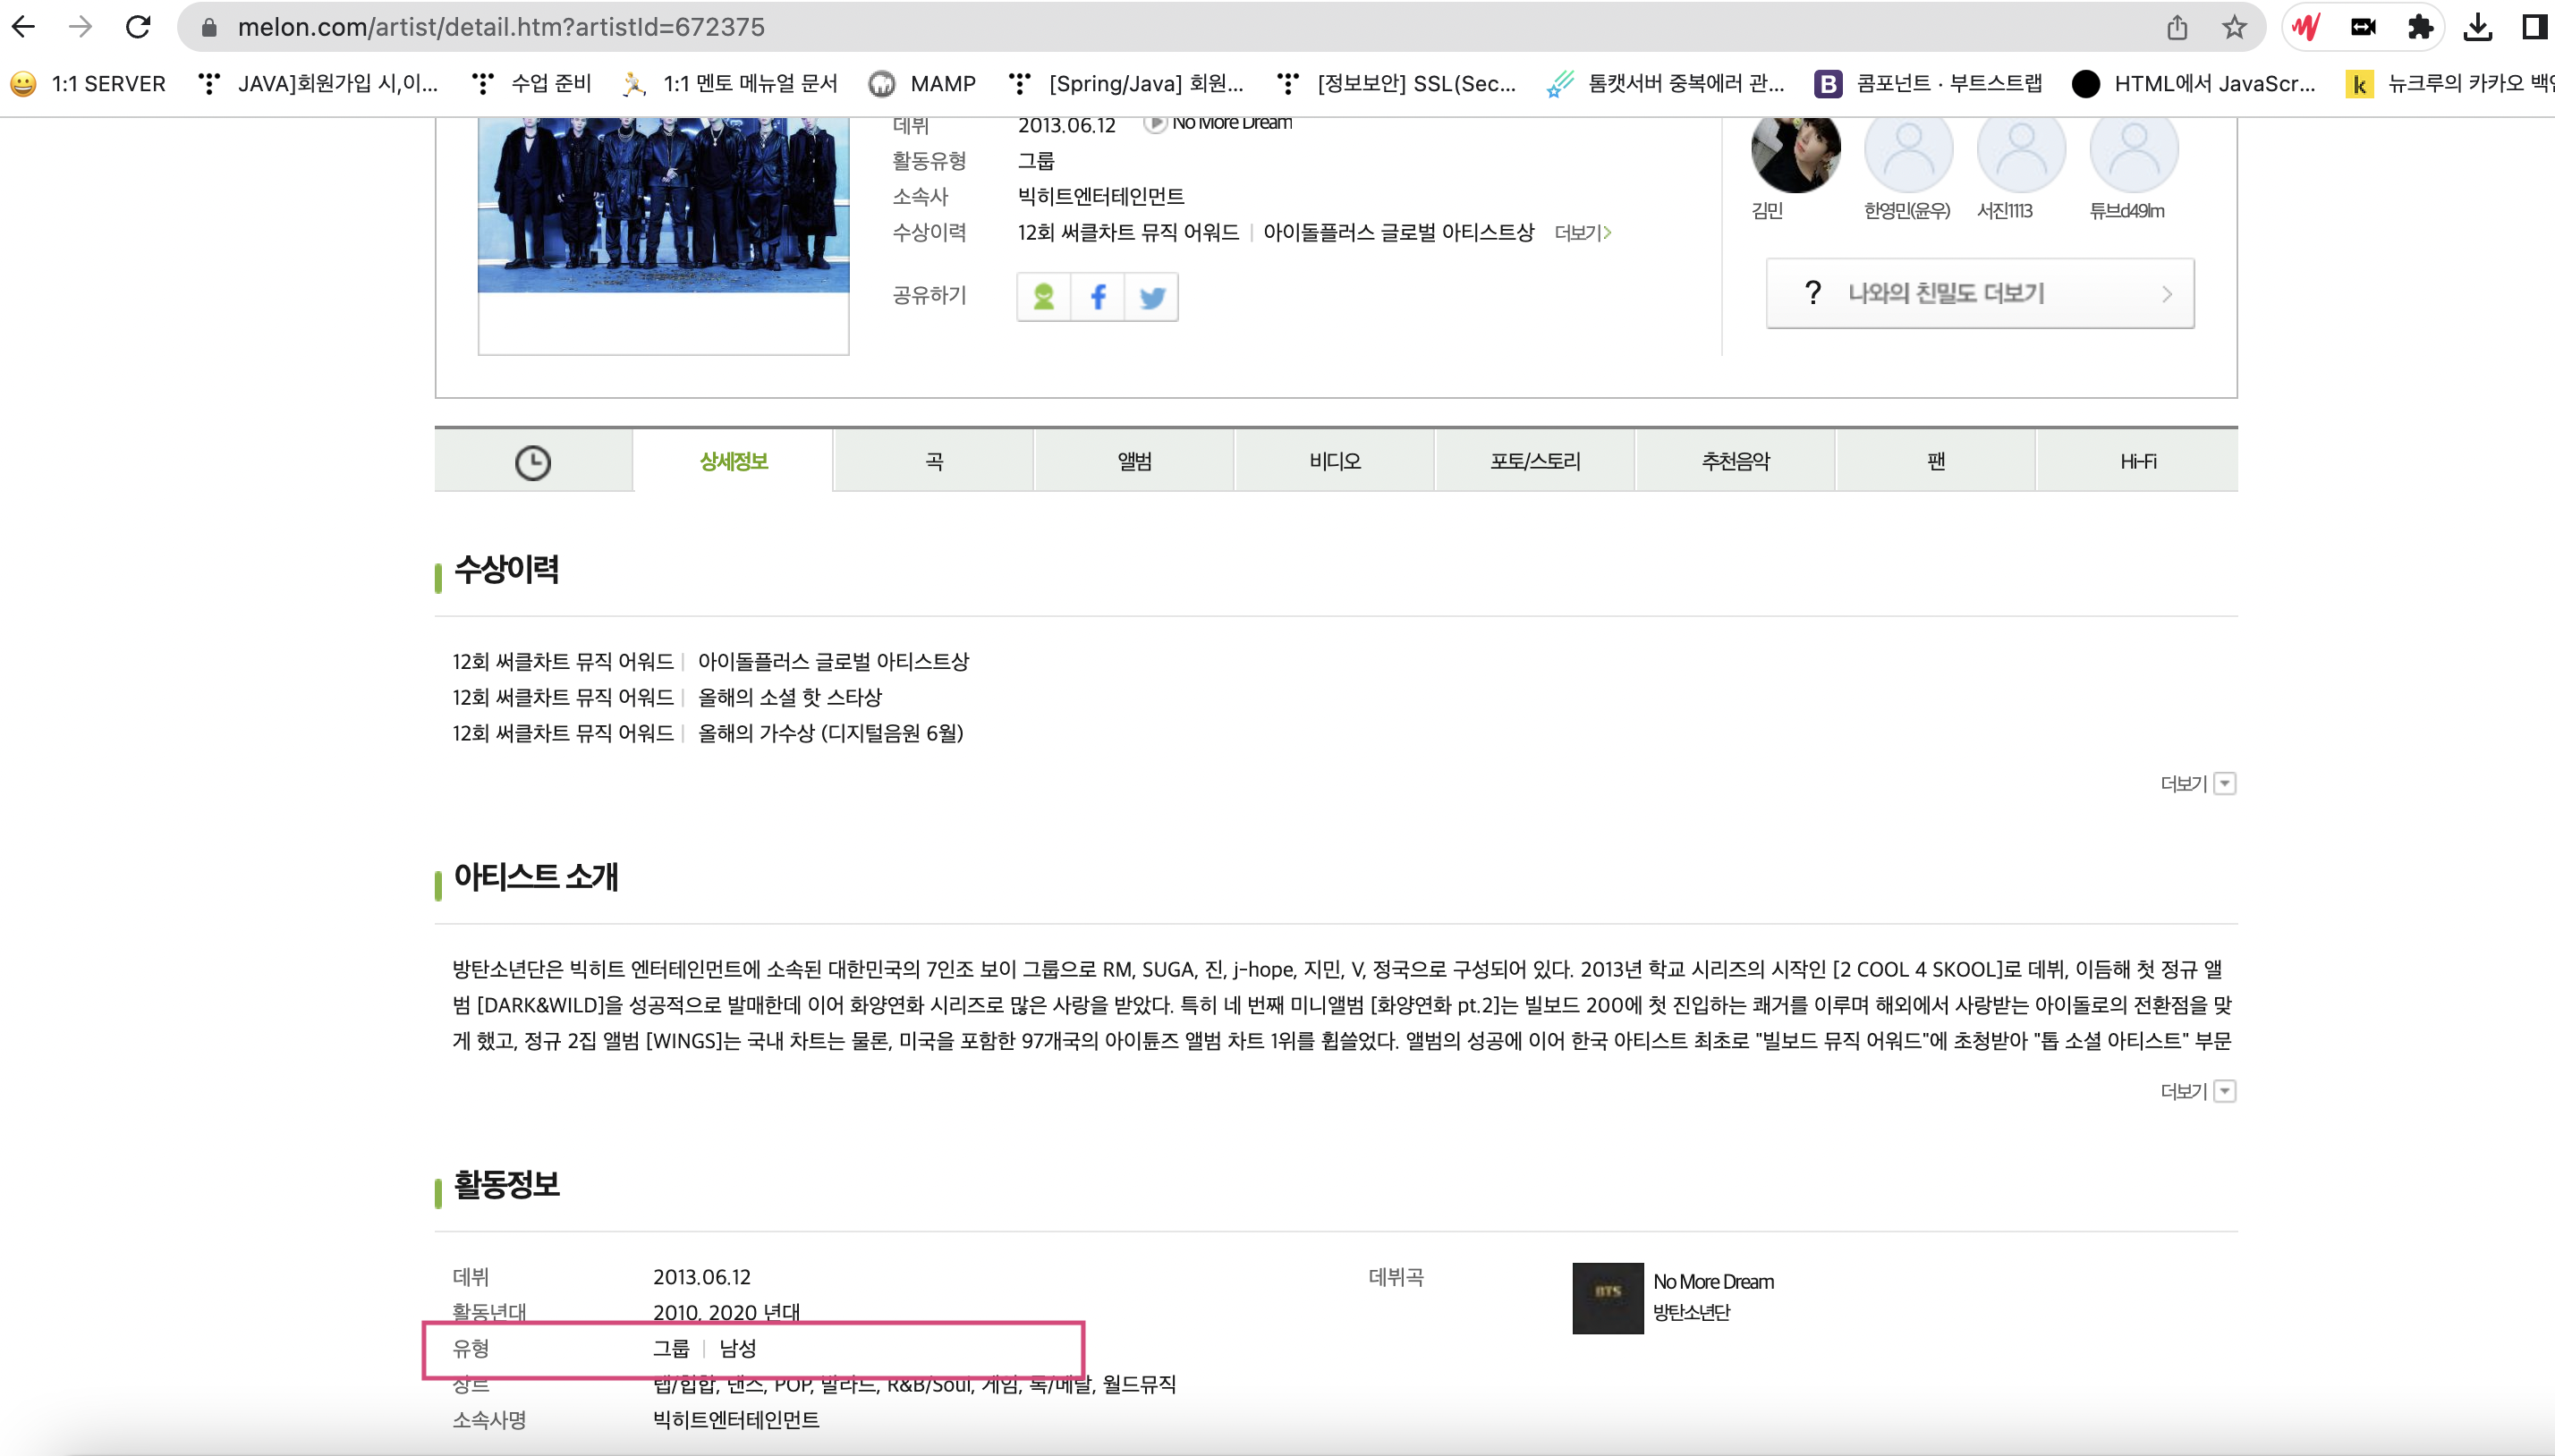
for i2,artist2 in enumerate(artist_detail_info):
                    artist_detail_info2 = artist2.findAll("div","txt-g")

                    # 여성, 남성, 혼성 그룹인 케이스를 나눠 category_id 저장
                    for i3,artist3 in enumerate(artist_detail_info2):
                        if '/' in artist3.text and '그룹' in artist3.text and '여성' in artist3.text and '\n' in artist3.text:
                            celeb_category_id=7
                            break
                        elif '/' in artist3.text and '그룹' in artist3.text and '남성' in artist3.text and '\n' in artist3.text:
                             celeb_category_id=8
                             break
                        elif '/' in artist3.text and '그룹' in artist3.text and '혼성' in artist3.text and '\n' in artist3.text:
                             celeb_category_id=9
                             break
상세정보 탭 -> 활동정보에서 유형값을 가져와 분류하여 celeb_category_id 값을 지정했다.
for i3,artist3 in enumerate(artist_info):
                    name = artist3.findAll("p","title_atist")
                    member_name = artist3.findAll("div","wrap_atistname")
                    for i4,artist4 in enumerate(name):

                        for i5,artist5 in enumerate(artist4):
                            if i5%2==1:
                                name=artist4.text
                                index+=1

                                # 그룹일 때는 index backup 해두기 (멤버의 데이터를 넣을 때 parent_id로 사용하기 위함)
                                if (celeb_category_id!=10):
                                    index_backup=index

                                # 그룹 or 솔로 데이터 저장
                                sheet.append([index,"",celeb_category_id,name,artist_id])
솔로 혹은 그룹일 때 데이터를 저장하는 코드이다. pk값은 Index 변수를 1씩 증가시켜 사용했다.
스럽에서는 그룹과 멤버를 같은 테이블로 저장하지만 멤버일 경우에 parent_id를 자신이 속한 그룹의 celeb_id를 넣어주고 있다. 그룹의 멤버 데이터를 넣을 경우에 parent_id로 값을 넣어야하기 때문에 index 값을 백업하고있다.
DB 테이블에 들어갈 순서대로 celeb_id, parent_id, created_at, updated_at, celeb_category_id, celeb_name_en, celeb_name_kr 데이터를 저장한다. 솔로나 그룹은 parent_id가 없기 때문에 빈 스트링을 넣었다.

                    # 그룹의 멤버 저장
                    for k,member in enumerate(member_name):
                        member_name2=member.findAll("a","atistname")

                        for i6,artist6 in enumerate(member_name2):
                            artist_id2=artist6['href'].split("(")[1].split(")")[0]
                            if artist_id2 in idList:
                                continue
                            else:
                                idList.append(artist_id2)
                                artist_name=artist6.text
                                index+=1


                                sheet.append([index,index_backup,celeb_category_id,artist_name,artist_id2])


    except Exception as e:
        print("오류 발생")
        print(e)
        break


wb.save("melon_singer.xlsx")
그룹의 멤버일 때 데이터를 저장하는 코드이다. 그룹 & 솔로 저장과 동일하지만 parent_id에 백업해둔 index(index_backup)값을 넣어준다. 그리고 크롤링할때는 꼭 예외처리를 해주자 !!
마지막으로 엑셀 파일로 데이터를 저장한다.
4. 결과물
(엑셀 파일)
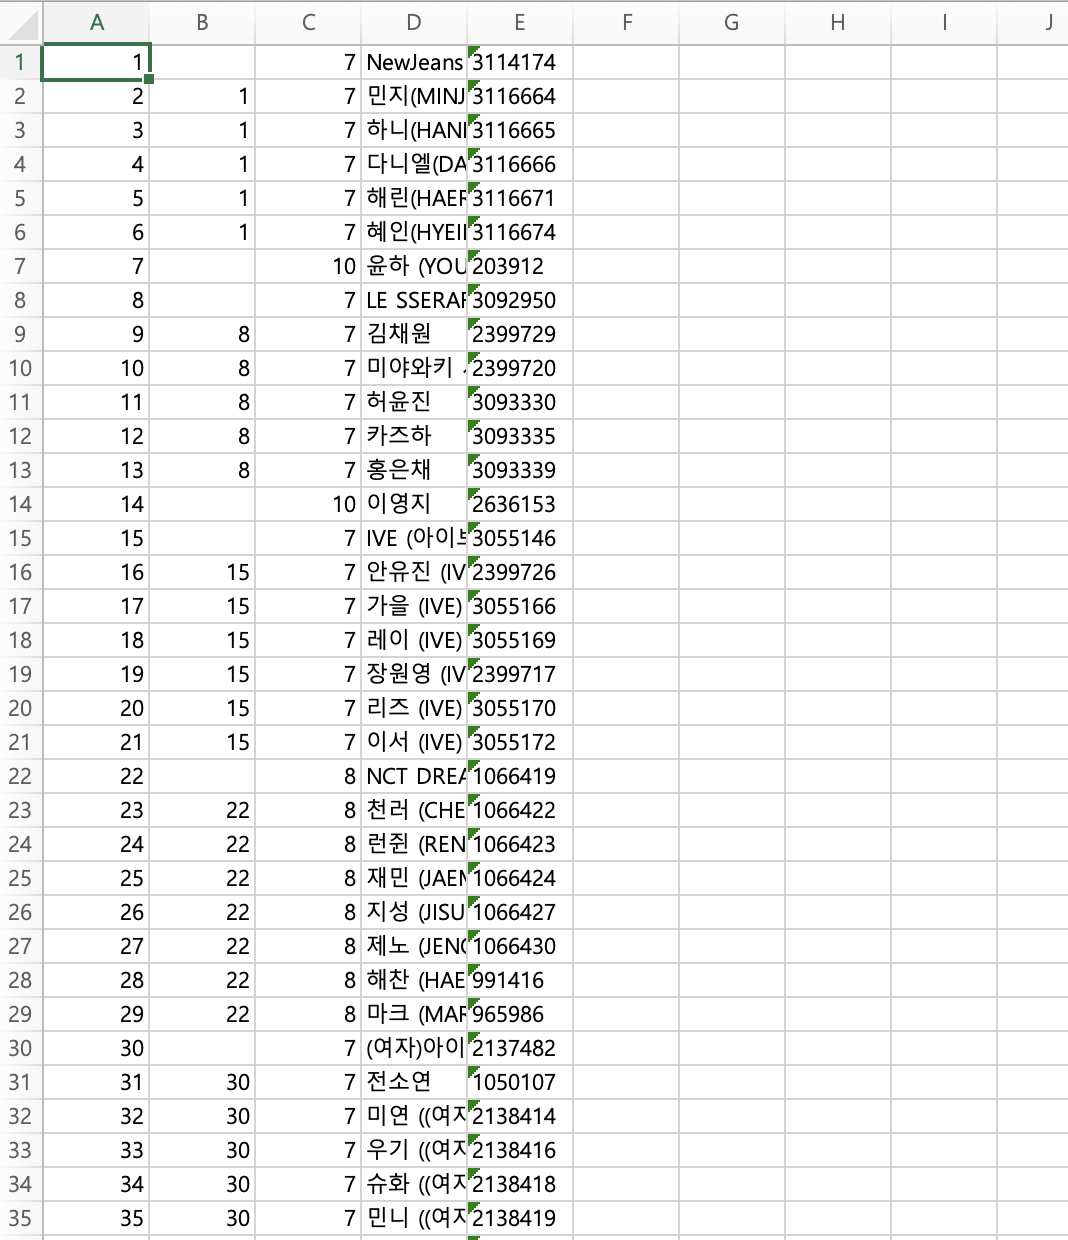
이렇게 엑셀 파일에 가수들의 데이터를 넣었다. 년도와 월을 기획에 맞게 잘 선택하면 아주 유용하게 사용할 수 있는 데이터가 될 것 같다.
다음으로는 이름을 통일성있게 바꾸는 작업을 할 예정이다!
마지막으로 최종 코드 첨부합니다. 😊

'데이터 크롤링' 카테고리의 다른 글
| [Crawling] 파이썬으로 무신사 브랜드 데이터 수집하기 (0) | 2023.04.27 |
|---|


댓글 영역